
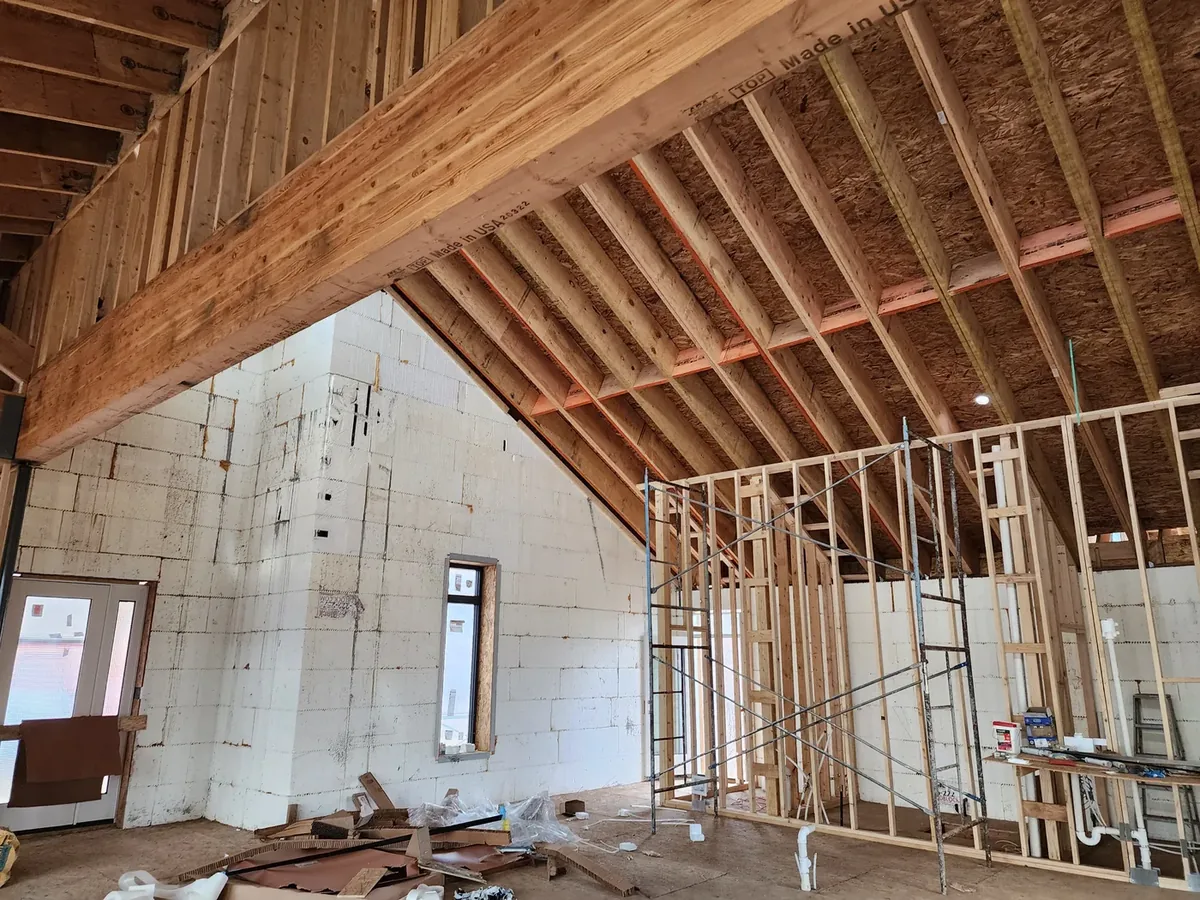
You fixed the hole. The mud went on flat, you sanded it smooth, you feathered the edges, and you rolled the same paint that is in the can in the garage. The wall looked perfect while it was wet. Two hours later, standing in the doorway with the afternoon light coming in from the side, there it is: a faint rectangle glowing on the wall like it is lit from behind.
This is one of the most common calls we get, and the frustrating part for homeowners is that the repair usually was not the problem. Most visible patches are a paint problem, not a mud problem.
What you are actually looking at is flashing
Flashing is the term for a spot on a wall that reflects light differently than the area around it. It is not a color mismatch. You can prove that to yourself easily: if the patch disappears when the paint is wet and reappears as it dries, the color is right and the sheen is wrong.
Paint sheen is not a property of the paint alone. It is what happens when the paint film meets the surface underneath. Change the surface and you change the sheen, even with identical paint from the same can. That is the whole problem in one sentence, and everything below is a version of it.
Cause one: porosity, and it is the big one
Bare joint compound is thirsty. It is a porous, absorbent material, and when you roll finish paint directly onto it, the compound pulls the liquid and the binders down into itself. The surrounding wall, which is already sealed by years of existing paint, does not. Same paint, two very different amounts of it left sitting on the surface.
The result is a patch that dries flatter and duller than the wall around it. Under flat paint in soft light you might get away with it. Under an eggshell or satin in raking light from a window, it will show every time.
Spot-priming just the patch helps but frequently is not enough, because now you have three zones instead of two: old paint, primer, and the transition where the primer feathers out. The reliable fix is a primer coat that covers the entire repair area generously, well past the feathered mud, so the finish coat lands on one uniform substrate.
Cause two: the feather is too short
A drywall repair is not really the patch. It is the transition. A twelve inch hole that has been mudded out to a fourteen inch square is a bump with hard edges, and no amount of paint hides a shadow line.
Compound has to be carried out far enough that the transition from patch to wall is invisible to your eye and to raking light. On a small hole that means the final coat is often two to three feet wide. It looks absurd while you are doing it, and it is the reason a professional repair and a weekend repair look different. Wide and thin beats narrow and thick, every time.
The test is not visual, it is tactile. Kill the lights, hold a work light flat against the wall so the beam rakes across the repair, and run the flat of your hand over it. If you can feel an edge, the paint will find it.
Cause three: the texture does not match
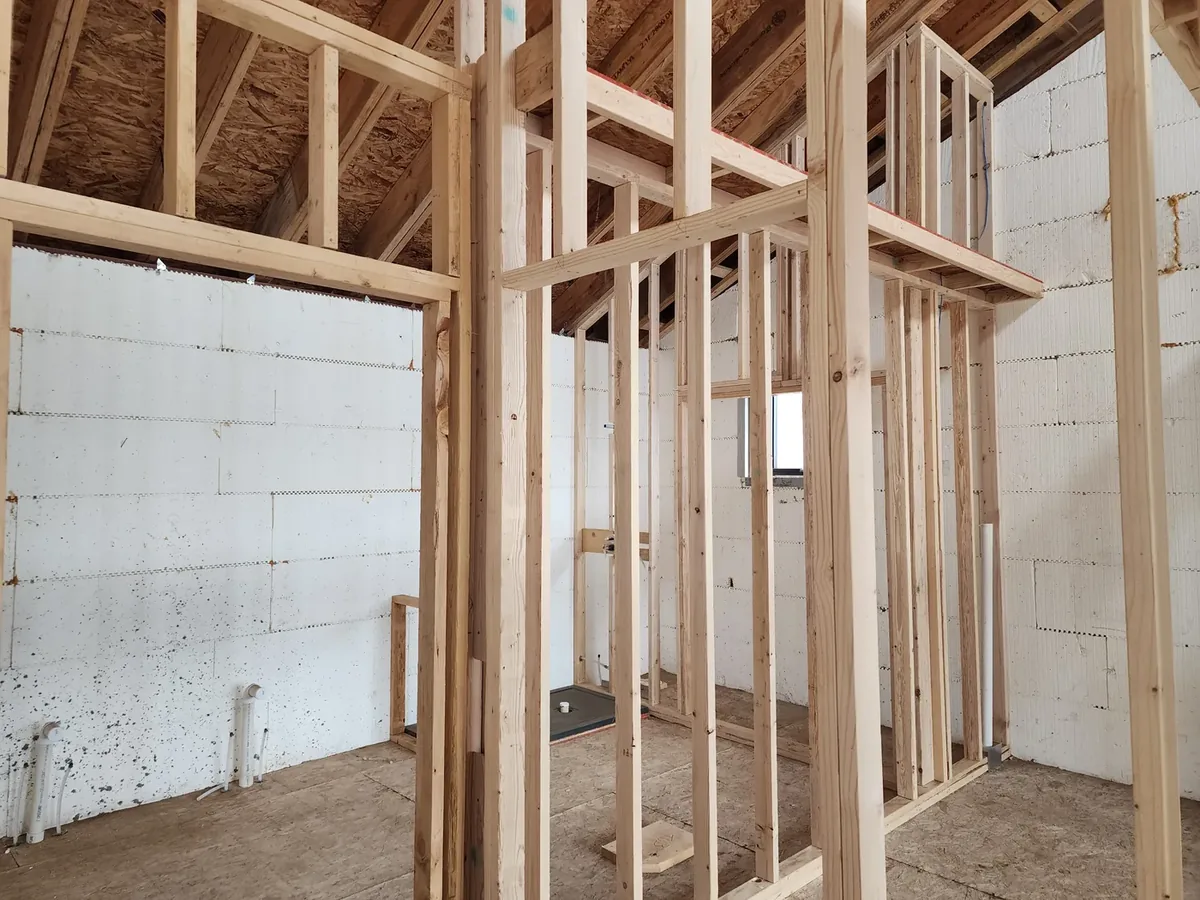
Most walls are not smooth. Around here we see a lot of orange peel and knockdown, and both have a specific grain size and density that is set by the spray tip, the mix consistency, the air pressure, and how long the installer waited before knocking it down. Matching it is genuinely skilled work.
A few things that trip people up:
- Raw compound sprays differently than primed board. An absorbent patch pulls moisture out of the texture spray, so the same mix lands with a different profile. Priming before texturing gives you a consistent base.
- Knockdown timing is everything. Knock it down too early and it smears flat. Too late and you get sharp, crusty edges. The window is minutes.
- Practice on cardboard first. Dial the mix and pressure on scrap until the pattern matches a photo of the existing wall, not on the wall itself.
Even a good texture match has to be feathered at its edges into the existing pattern, or the boundary of the sprayed area becomes the new visible line. You have solved one problem and created another two inches out.
Cause four: sheen and the corner-to-corner rule
The higher the sheen, the more directional the reflection, and the less forgiving the wall. Flat paint scatters light in all directions and hides a great deal. Satin and semi-gloss reflect it like a soft mirror, and any difference in surface smoothness, texture, or film thickness reads instantly.
This is why a repair in a flat-painted bedroom often vanishes with basic care, and the identical repair in a satin-finished hallway needs far more work. If your walls are anything above eggshell, plan on more prep, not less.
It is also why we are honest with clients about the last step. Touching up a patch means blending new paint into old paint that has faded, oxidized, and collected years of light. Even a perfect color match from the original can will not have aged the same way. Where a patch sits in the middle of a wall under directional light, the only way to make it truly disappear is to roll the full wall, corner to corner. Not corner to the edge of the patch. Corner to corner.
The sequence that actually works
Put together, the order looks like this, and skipping a step is usually what brings the problem back:
- Repair and feather wide. Multiple thin coats, each carried further out than the last, sanded smooth and checked with a raking light.
- Prime the whole repair area. Not a dab on the patch. A full coat over the entire mudded and feathered zone so the surface porosity is uniform.
- Texture to match, if the wall is textured. Dial it in on scrap, then feather the sprayed edge into the existing pattern.
- Prime again over new texture. Fresh texture is itself absorbent compound.
- Paint the full wall, corner to corner, with the same product, the same sheen, and the same application method as the surrounding surface.
That last detail catches people. A wall originally sprayed and back-rolled has a different surface profile than one that was brush-cut and rolled. Roller nap length changes the stipple. Matching the method matters as much as matching the can.
When it is worth calling someone
A small hole in a flat-painted wall is a reasonable weekend job. Where it is worth bringing in a crew is when the repair is large, when the wall is textured, when the sheen is satin or above, or when the wall gets strong side light from a window and will show everything.
It is also worth a call when the patch is the symptom rather than the problem. Recurring cracks at the same corner, nail pops in a line, or staining that keeps coming back are telling you something is moving or something is wet, and repairing the surface without addressing that just buys a few months. Settling cracks are common in the older homes around Walsenburg, and they are usually fine, but they want a repair that expects movement rather than a rigid one.
We do drywall repair, patching, and texture matching as part of the same job as the paint, which is the honest reason our repairs disappear. The crew that mudded it knows what it is going to be primed and coated with, and nobody is handing off a wall halfway through. Most of this work runs alongside an interior repaint anyway, because once you are rolling the full wall corner to corner, you are most of the way to doing the room properly.
Staring at a patch that will not disappear? Send us a photo taken with light raking across the wall and ask for a free estimate. We will tell you what it will take to make it go away for good.